NDLA Timeline 'papi Jo' Documentation EN
Current version: 0.2.1 dated 26 september 2023
History
The original Timeline project is to be found on the Northwestern University Knight Lab site. and more specifically on their Timeline page.
The current H5P Timeline content is based on an outdated version of the Knight Lab TimelineJS. In that content, the Wikipedia and Google maps media types don't work, and that bug will never be fixed. Also, it is not possible to insert media files (audio, image, video) from a local machine, as it is possible for most of the other H5P contents.
A much better H5P Timeline, based on the latest available Knight Lab TimelineJS3 version has been created by NDLANO, the NORWEGIAN DIGITAL LEARNING ARENA, available on their NDLA Github site. That version is not currently officially available on the H5P site.
NDLA Timeline Papi Jo is based on the NDLA version, with a few changes and improvements aiming at making it look as much as possible like the original KnightLab Timeline software.
Tutorial
When to use Timeline
You can use a Timeline content type for a content where you want to present a sequence of events in chronological order.
Step 1: Topic
For this tutorial we shall take the example of the NDLA Timeline Papi Jo Template content, which takes as its starting theme the History of strawberries H5P example.
Important.- In this tutorial you will previously need to download these 2 image files on your own computer. Proceed as usual, right-click on each image, Save image as, etc. and do remember where you save them on your machine!

Step 2: Creating a timeline
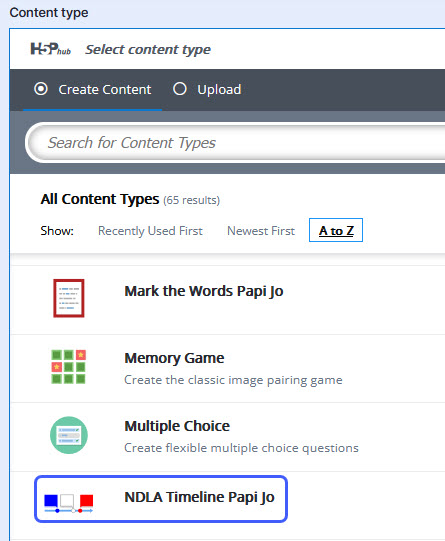
Select the New content option and choose NDLA Timeline Papi Jo from the list of Content types.
Step 3: Timeline Editor
The Timeline editor should now appear. It consists of 8 parts:
Title, Title slide, Timeline items, Tags, Eras, Behavioral settings and Language
Step 4: Title
Enter a title in the Title field, as for any other H5P content, e.g. NDLA Timeline Papi Jo My own content
Step 5: Title slide
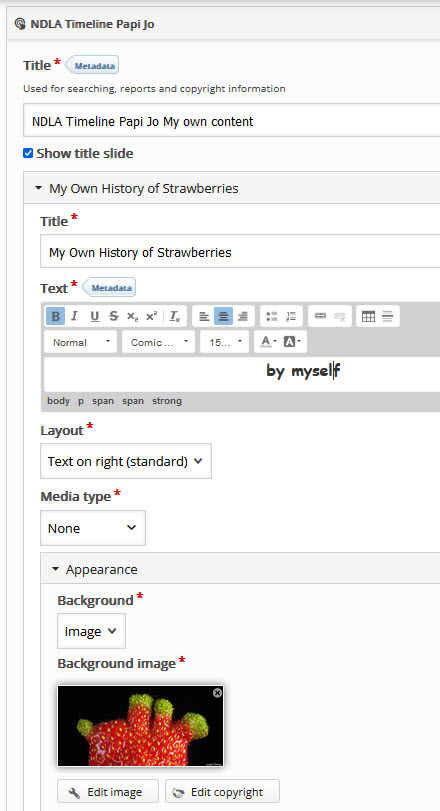
You can optionally create a Title slide, containing a title, a description text and a Media of your choice. You can also display a background for that Title slide, consisting either of a colour or an image. Click on the Show title slide check box and enter this data:
- Title: My Own History of Strawberries
- Text: by myself. You can take advantage of the rich text editor e.g. Font Name Comic Sans; Size: 150%
- Layout: leave Text on right (standard)
- Media type: None
- Appearance
- Background: image
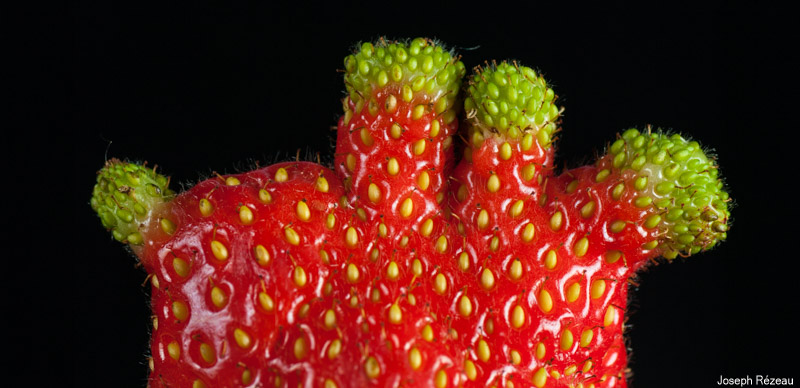
- Background image: Add Navigate to where you saved the Green-fingered strawberry image on your computer and use it.
You should now see this:
Step 6: Timeline items
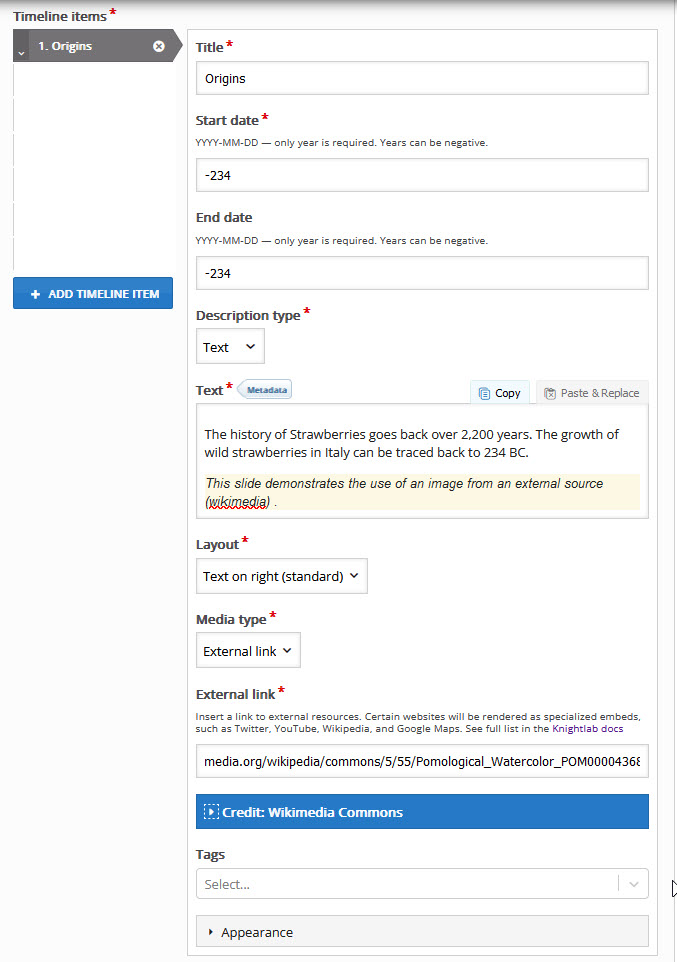
Item #1 Enter this data:
- Title: Origins
- Start date: -234 (use the minus sign for a negative date!)
- End date: -234
- Description type: Text
- Text: The history of Strawberries goes back over 2,200 years. The growth of wild strawberries in Italy can be traced back to 234 BC.
- This slide demonstrates the use of an image from an external source (format this block with a light yellow colour background)
- Layout: Text on right (standard)
- Media type: External link
- External link: https://upload.wikimedia.org/wikipedia/commons/5/55/Pomological_Watercolor_POM00004368.jpg
- Information
- Credit: Credit: Wikimedia Commons
- Caption: Image of the 'Parker Earle' variety of strawberries
- Tags: Not used
- Appearance: Not used
You should now see something like this:
Click ADD TIMELINE ITEM and add the following data for the following items:
Item #2
- Title: Early mentions of Strawberries
- Start date: 0023
- End date: 0079
- Description type: Text
- Text: This slide displays an automatically created extract from a Wikipedia article with a clickable link to the article itself.(format this block with a light yellow colour background)
- Layout: Text on right (standard)
- Media type: External link
- External link: https://en.wikipedia.org/wiki/Strawberry#History
- Information
- Credit: Wikipedia
- Tags: Not used
- Appearance: Not used
Item #3
- Title: Marilyn Monroe
- Start date: 1926-6-1
- End date: 1962-8-4
- Description type: Text
- Text: This slide demonstrates a quote with a reference.
- Media type: Quote
- Text: <blockquote>Dating a new man is like holding a strawberry milkshake. First the taste, then the pleasure.<cite>Marilyn Monroe</cite></blockquote>
- Information
- Credit: Wikipedia
Item #4
- Title: Strawberry fields forever
- Start date: 1967-2-13
- Description type: Text
- Text: This slide demonstrates the inclusion of an audio file from an external link.
- Media type: External link
- External link: https://upload.wikimedia.org/wikipedia/en/transcoded/d/dc/Strawberry_Fields_Forever_%28Beatles_song_-_sample%29.ogg/Strawberry_Fields_Forever_%28Beatles_song_-_sample%29.ogg.mp3?download
- Information
- Credit: Wikipedia
- Caption: Songwriters: Lennon/McCartney
Item #5
- Title: The extraordinary life and times of strawberry
- Start date: 2000
- Description type: Text
- Text: Follow the journey of a strawberry from the farm to the refrigerator to understand all that it takes to bring your food to you. Did you know that 40% of our food ends up wasted? Wasted food is the single largest contributor to landfills in the US—not to mention that it wastes water, labor, fuel, money, & love!
| This slide demonstrates inserting a YouTube video media type. |
- Media type: External link
- External link: https://youtu.be/uTaFYF1nA4c?feature=shared
- Information
- Credit: Wikipedia
- Caption: Songwriters: Lennon/McCartney
Item #6
- Title: The extraordinary life and times of strawberry
- Start date: 2023
- Description type: Text
- Text: This slide demonstrates the use of an image uploaded from a local repository. And also the use of a colour (grey) background for the whole slide.
- Layout: Text on left
- Media type: Image
- Add the Half a strawberry image that you have previously saved to your computer.
- Alternative text: Half a strawberry is better than none
- Information
- Credit: Photograph by Joseph Rézeau
- Caption: Half a strawberry is better than none
Step 7: Tags
The tags provided in the Timeline project are not terribly useful. We won't use them here.
Step 8: Eras
Click Add Era and add the following data:
- Name: Before Present
- Start date: -2000
- End date: 0
---
- Name: 19th century
- Start date: 1800
- End date: 1900
---
- Name: 20th century
- Start date: 1900
- End date: 2000
---
- Name: 21st century
- Start date: 2000
- End date: 2100
Step 9: Behavioral settings & Language
Leave all the settings at their initial default values. You may experiment with them later on.