“Wrap Around” metal plant supports are available for sale, in various more or less “decorative” versions but they can quickly become costly if you need a lot. An easy method is explained in the BBC “Gardeners’ World” video below (click the button to view in a new tab).
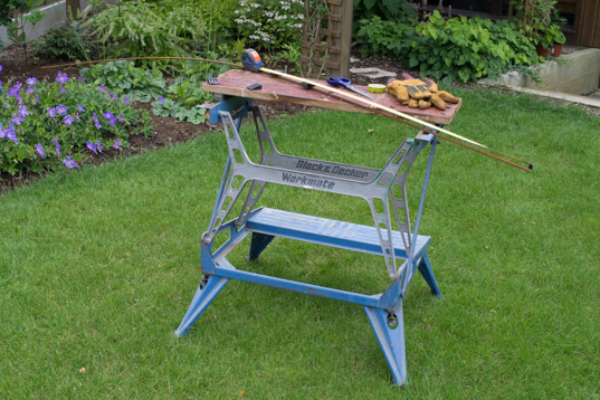
Having no suitable tree at hand, I use another method using my old faithful Black & Decker Workmate® woodworking bench. Watch the sideshow below to find out how. Click on the right arrows on the right of the images to move forward through the slideshow.
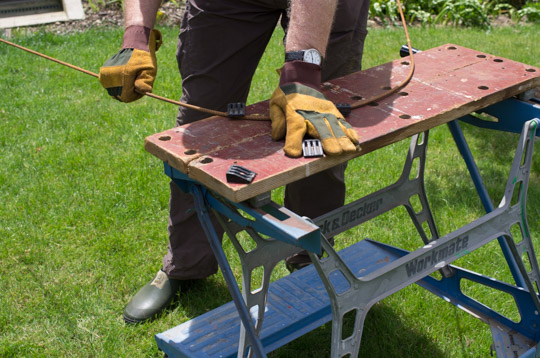
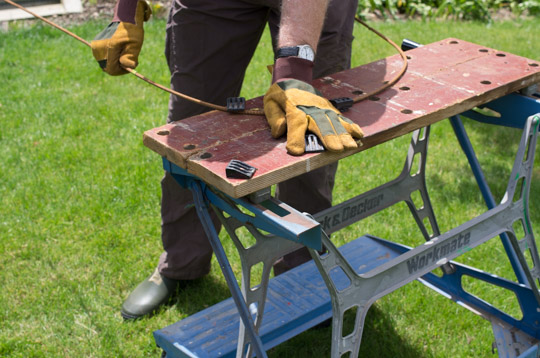
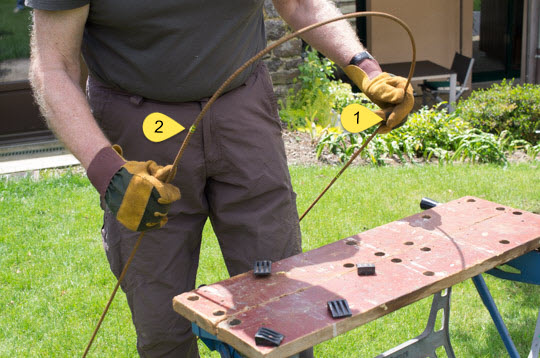
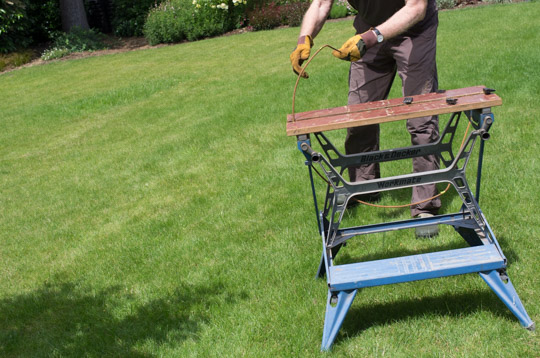
You need: Workmate® woodworking bench; construction steel rods (3 metres long); a measuring tape; coloured Sticky Tape; gloves; scissors.
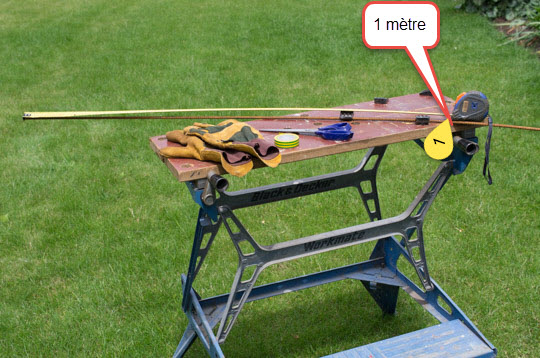
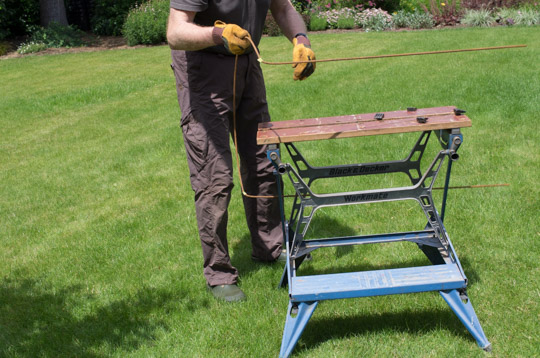
Stick a bit of coloured sticky tape one metre from each end of the rod so as to divide it into 3 equal parts.
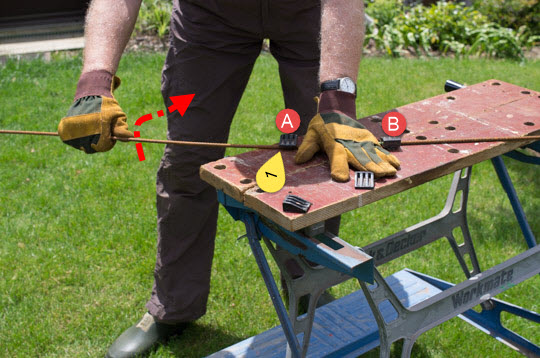
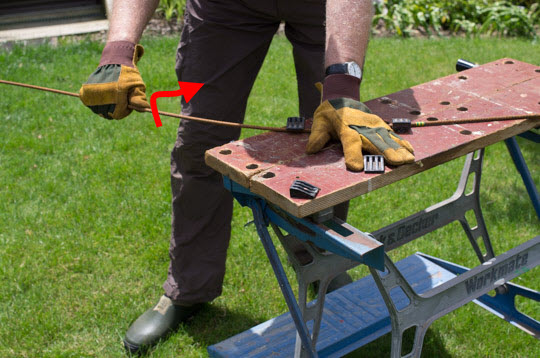
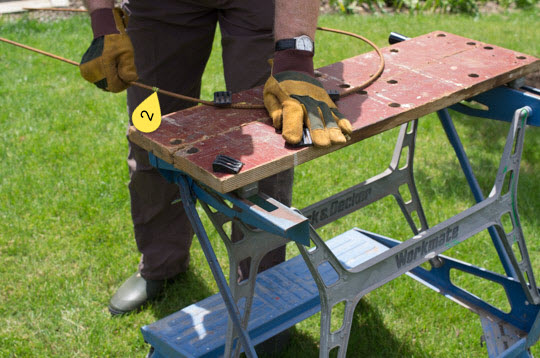
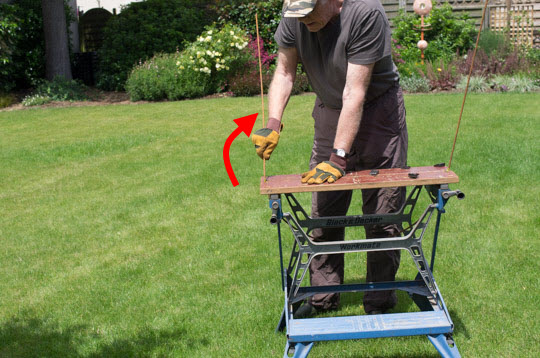
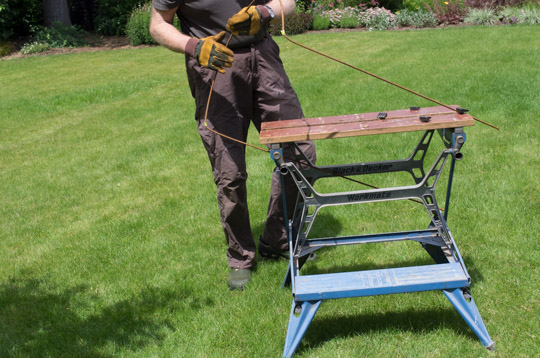
Fix the rod between the 2 pegs A and B, with maker n° 1 just in front of peg A. Hold the rod with your left hand flat between the 2 pegs. With your right hand bend the rod towards you (a little at a time).
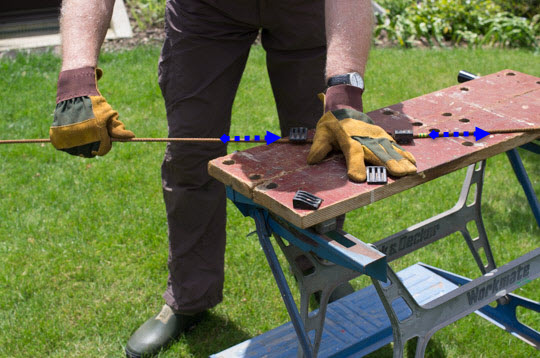
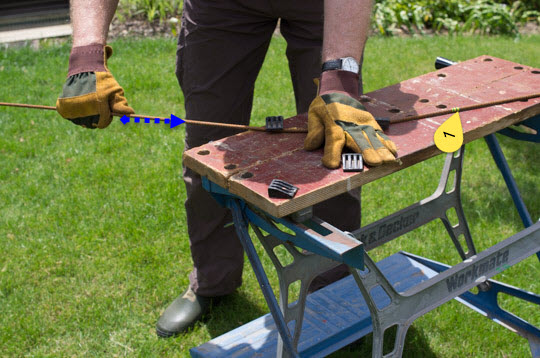
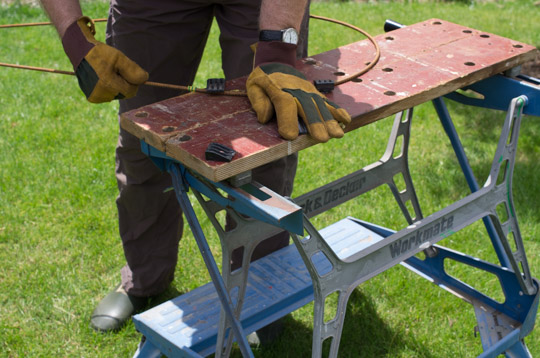
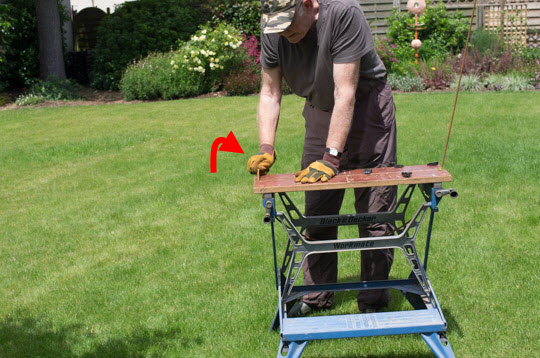
With your right hand, push the rod towards your left, a couple of centimetres at a time.
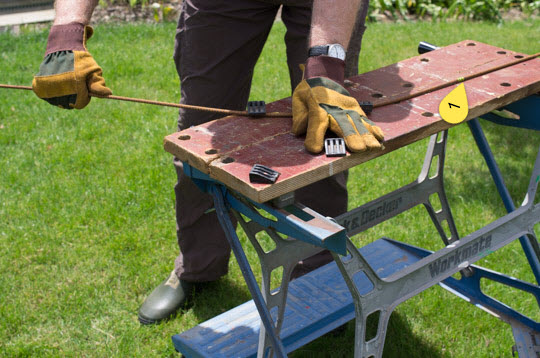
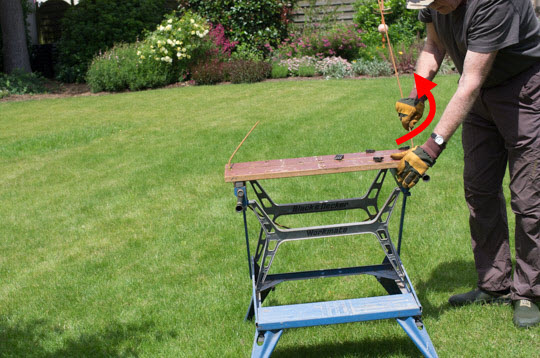
Repeat bending the rod towards you with your right hand.
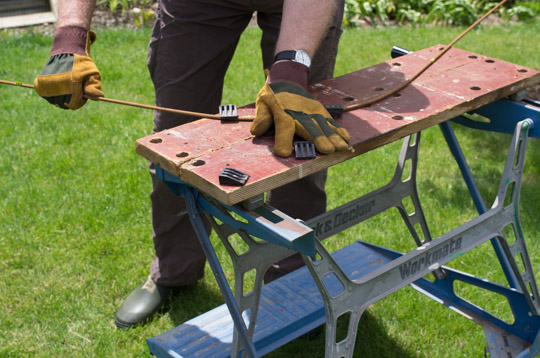
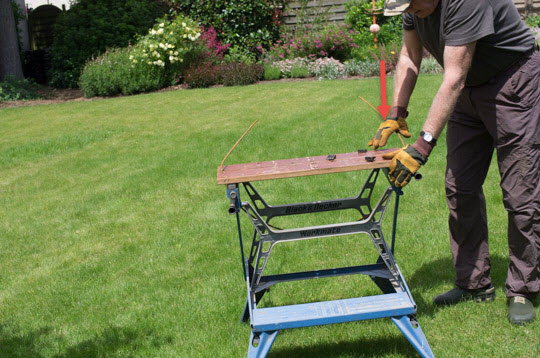
Repeat moving the rod towards your left. Here we see that mark n° 1 has moved to the left by a few centimetres.
Repeat the succession of alternate operations: move the rod towards your left between the pegs and then bend it a little at a time.
Repeat the succession of alternate operations: move the rod towards your left between the pegs and then bend it a little at a time.
Repeat the succession of alternate operations: move the rod towards your left between the pegs and then bend it a little at a time.
Repeat the succession of alternate operations: move the rod towards your left between the pegs and then bend it a little at a time.
Repeat the succession of alternate operations: move the rod towards your left between the pegs and then bend it a little at a time.
Repeat the succession of alternate operations: move the rod towards your left between the pegs and then bend it a little at a time.
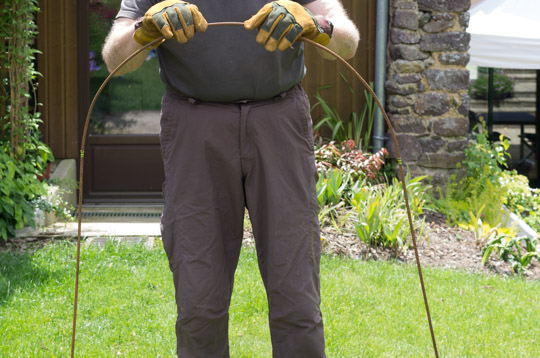
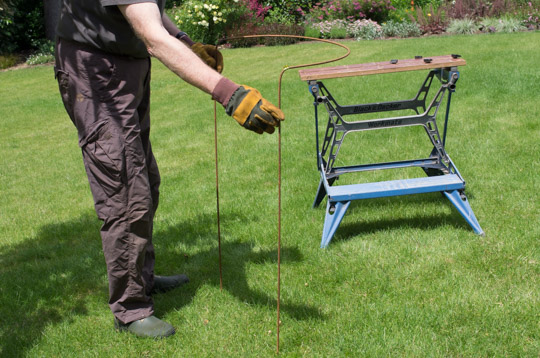
Here we have reached mark n° 2.
The first phase of is now ended. We have got a kind of croquet hoop.
Now we need to bend the 2 straight sections perpendicular to the rounded section.
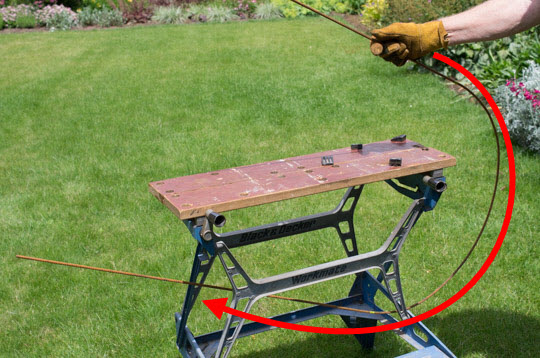
Push the rod between the feet of the WM.
Take care to position marks n° 1 & 2 just level with the flat surface of the WM.
After you have firmly fixed the rod in the WM, take hold of one of the straight sections and bend it towards you until it is horizontal.
After you have firmly fixed the rod in the WM, take hold of one of the straight sections and bend it towards you until it is horizontal.
Repeat the bending operation with the other straight section.
Repeat the bending operation with the other straight section.
The plant support is now finished. Take it out of the WM.
The plant support is now finished. Take it out of the WM.
The plant support is now finished. Take it out of the WM.
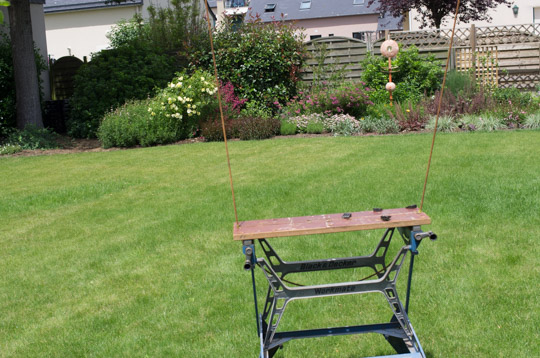
The plant support is now finished. It consists of 2 straight sections one metre long and one semi-circular section one metre long too.
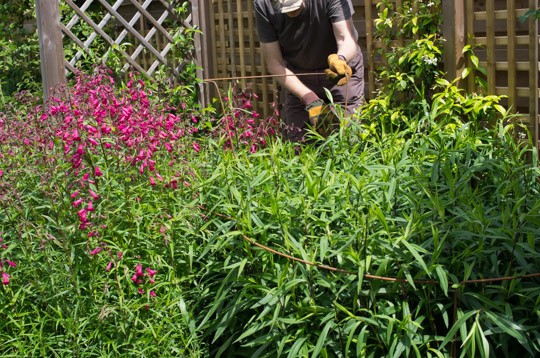
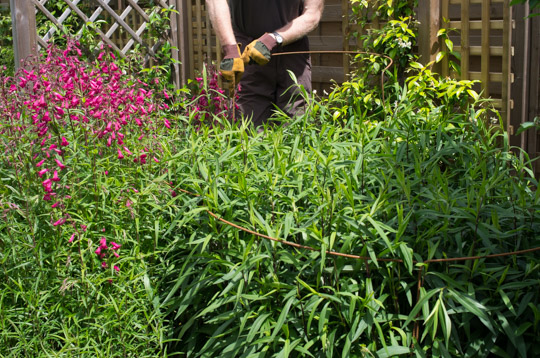
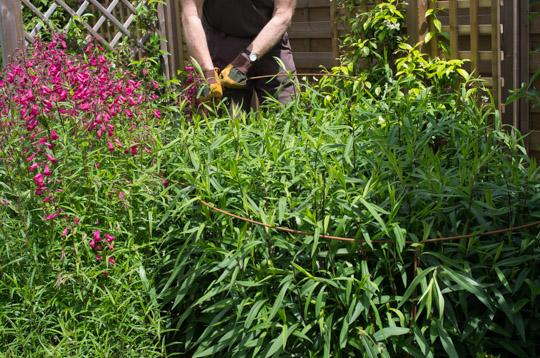
Put the plant support in position, driving each straight section into the ground.
Put the plant support in position, driving each straight section into the ground.
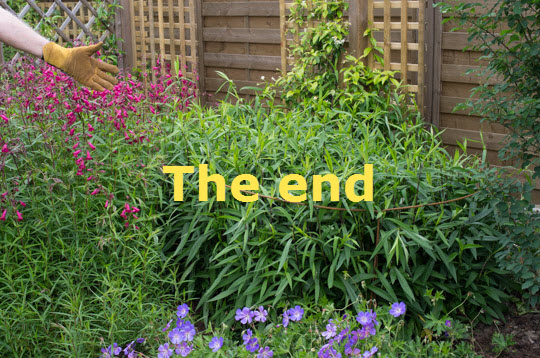
The planting support is now in position. In the foreground of the Aster specimen can be seen another support previously installed.